Missing shingles can quickly lead to bigger issues for your home, such as water damage and decreased energy efficiency. Replacing missing shingles is an essential maintenance task that can save you from costly repairs down the line. The good news is that with the right tools and a little patience, you can replace missing shingles on your own. This guide will walk you through the process in eight easy steps, ensuring your roof is back in top condition in no time.
Why it’s Important to Replace Missing Shingles
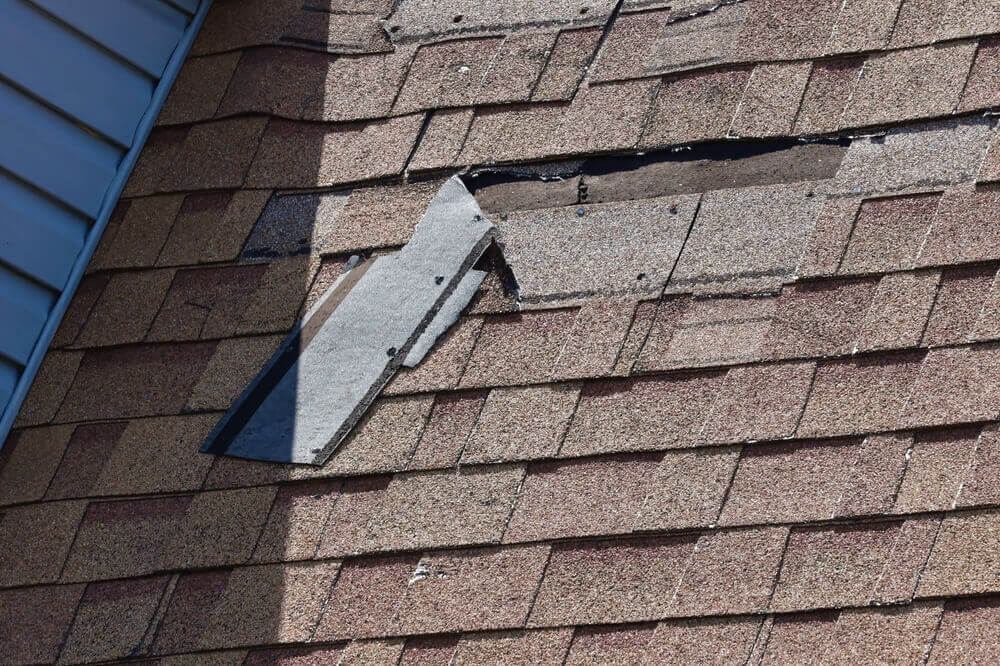
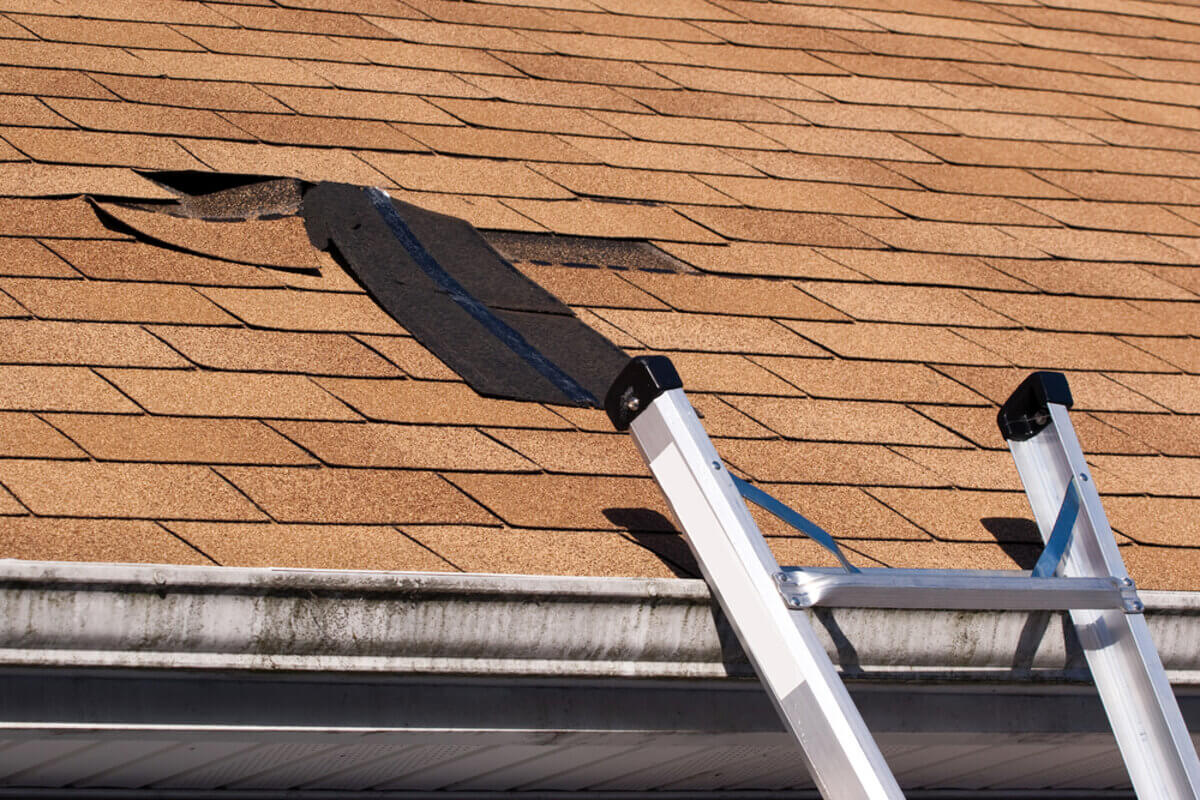
Shingles are your roof’s first line of defense against the elements. If any are missing, your home is more vulnerable to water infiltration, which can cause wood rot, mold, and structural damage. Additionally, missing shingles can affect the appearance of your home and its resale value. That’s why replacing them as soon as possible is a must for every homeowner.
Signs That You Need to Replace Missing Shingles
Before diving into the repair process, it’s crucial to identify when shingles need replacing. Here are some clear indicators:
- Curled or cracked shingles: Even if they aren’t missing, these should be replaced soon.
- Granule loss: If you notice a lot of granules in your gutters, it may indicate worn-out shingles.
- Water leaks: Any signs of water inside your home, such as stains on ceilings or walls, could mean shingles are missing or damaged.
8 Easy Steps to Replace Missing Shingles
Now that you know why replacing missing shingles is important, let’s get into the steps you need to take.
Step 1: Gather the Necessary Tools and Materials
Before you begin, make sure you have all the tools and materials you’ll need. Here’s a basic list:
- Replacement shingles
- Hammer
- Roofing nails
- Pry bar
- Utility knife
- Roofing sealant
- Ladder
- Safety gloves
Step 2: Inspect the Area
Climb up to your roof and locate the missing shingles. While you’re there, check the surrounding area for any additional damage. You might find cracked, curled, or loose shingles that also need attention.
Step 3: Remove Damaged Shingles
Using a pry bar, gently lift the shingles above the missing one. Remove any remaining pieces of the old, damaged shingle. Be careful not to damage the nearby shingles in the process.
Step 4: Loosen the Adhesive on Nearby Shingles
Shingles are often secured with adhesive. Use your pry bar to carefully loosen the shingles directly above the missing or damaged shingle. This will allow you to insert the replacement shingle without disrupting the entire section.
Step 5: Insert the New Shingle
Once the area is prepared, slide the new shingle into place. Make sure it aligns properly with the existing shingles to maintain the roof’s appearance and functionality.
Step 6: Secure the Shingle with Nails
Hammer roofing nails into the new shingle to hold it in place. Make sure the nails are driven into the same spots as the original ones for consistency. You’ll typically need four nails per shingle.
Step 7: Apply Roofing Sealant
To ensure a waterproof seal, apply roofing sealant under the edges of the new shingle. This step is critical to prevent water from getting under the shingle and causing further damage.
Step 8: Check Your Work
Once the shingle is in place and secure, give the area a thorough inspection. Make sure the new shingle sits flush with the others and that all nails are properly secured.
How to Maintain Your Roof After Replacing Missing Shingles
After completing the replacement, it’s essential to maintain your roof regularly to avoid future problems. Here are a few maintenance tips:
- Check your roof seasonally: At least twice a year, inspect your roof for signs of wear or missing shingles.
- Clear debris: Leaves, branches, and other debris can trap moisture, leading to damage.
- Trim overhanging branches: This prevents damage from falling limbs during storms.
When to Call a Professional
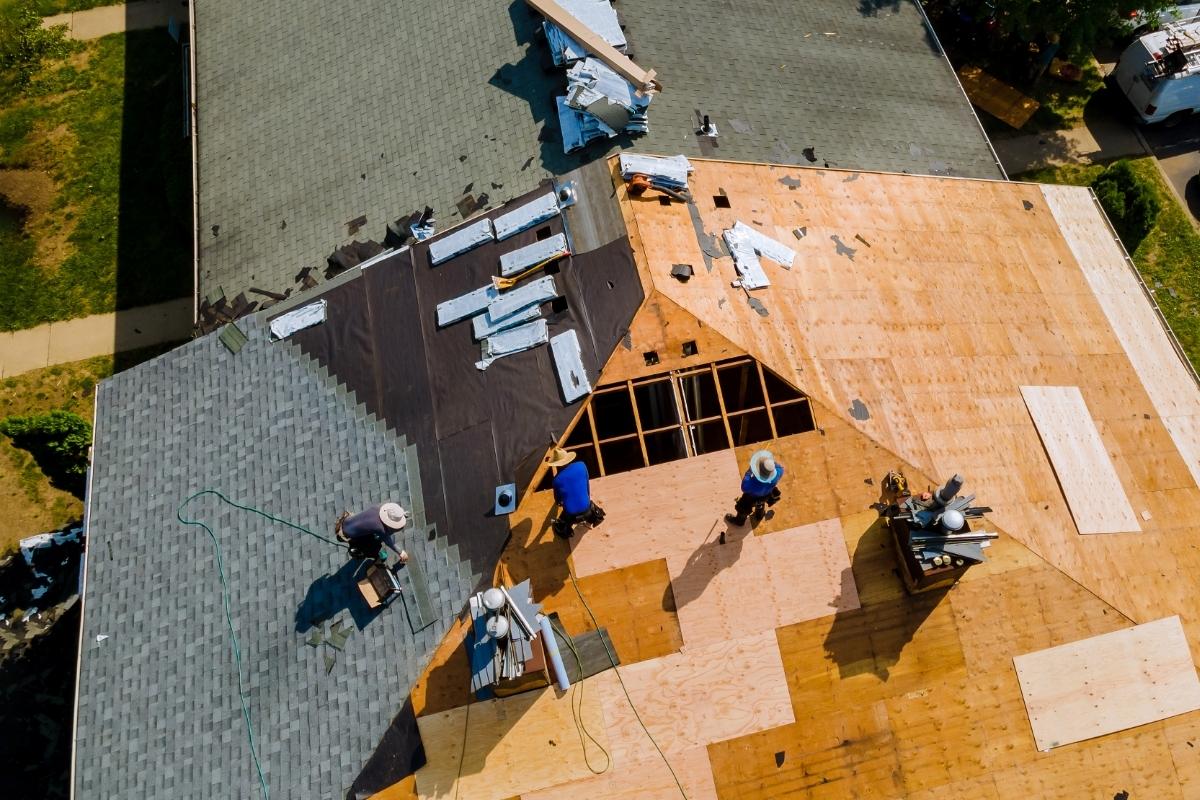
While replacing missing shingles is a straightforward process, there are times when you should consult a professional. If your roof has extensive damage or is too steep to safely work on, a roofing contractor can handle the repair for you. Also, if you’re dealing with large sections of missing shingles, it’s best to get an expert’s opinion to ensure your roof is still structurally sound.
Conclusion

Replacing missing shingles is a simple yet essential task to protect your home from the elements. With these eight easy steps, you can handle minor shingle repairs yourself and extend the life of your roof. However, if you’re ever unsure or uncomfortable with the process, don’t hesitate to contact a professional for assistance. Regular roof maintenance and prompt repairs can save you from more significant issues down the road. For expert help, contact DryTech Exteriors today.


