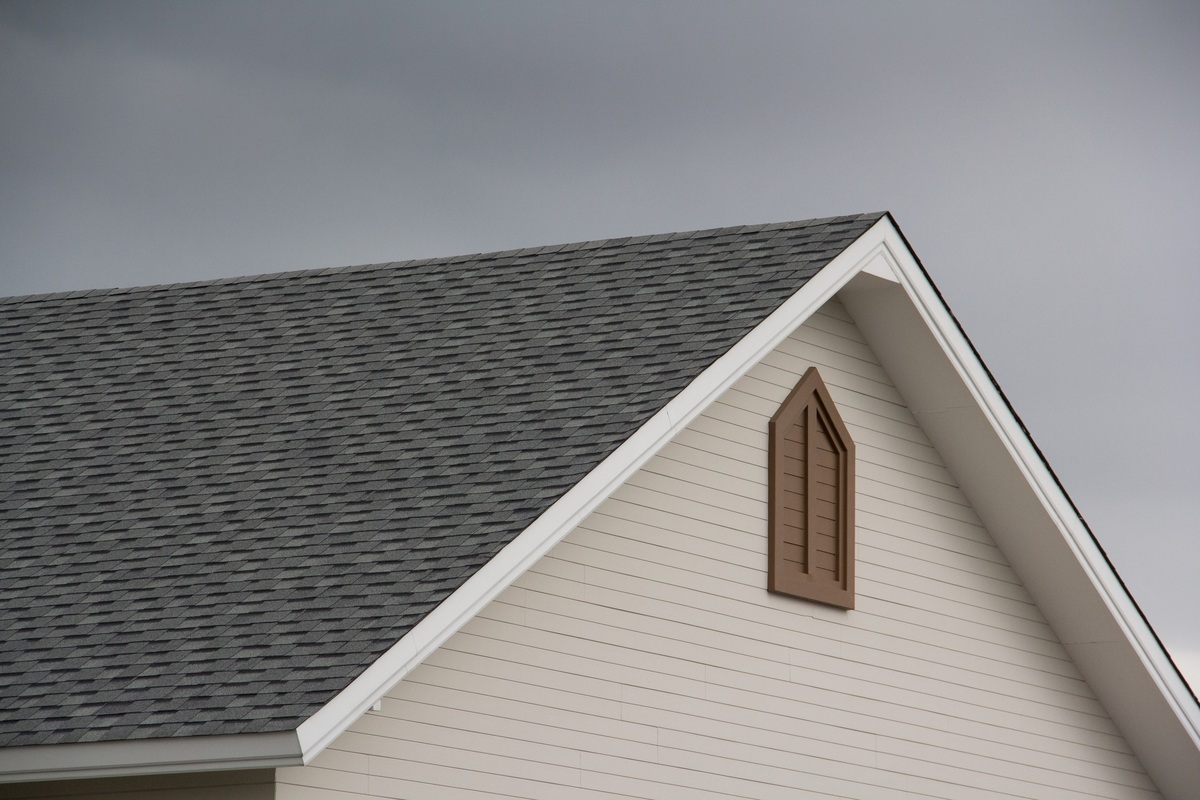
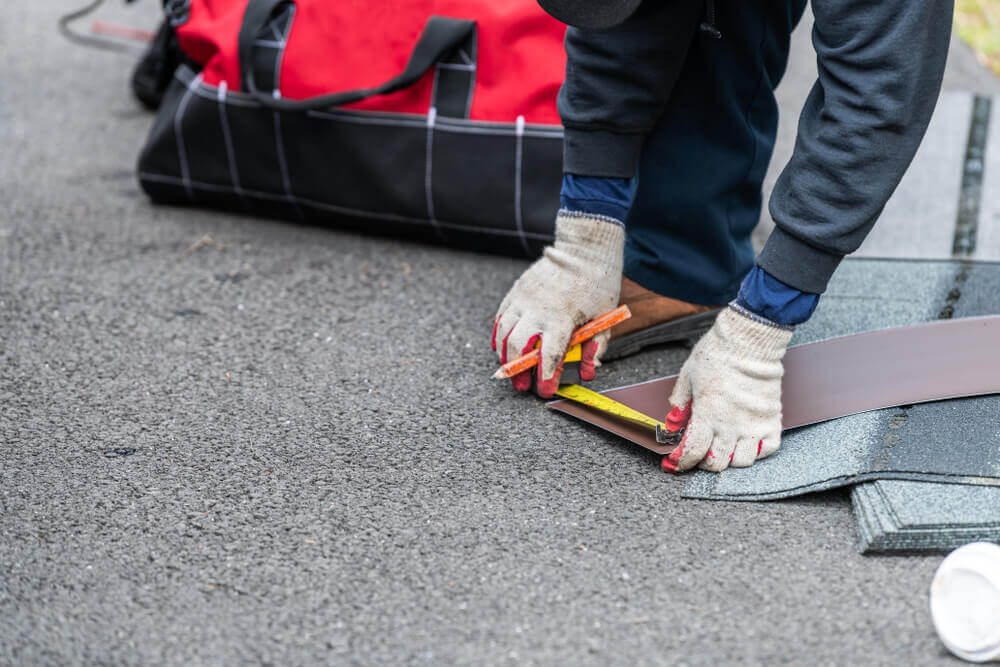
A sturdy, well-maintained roof is essential for protecting your home from the elements. Whether you’re planning to replace your old shingles or install a new roof, accurate measurements are crucial. Mistakes can lead to wasted materials, increased costs, and potential leaks. This guide will walk you through the entire process of measuring a roof for shingles, ensuring you get it right the first time.
Why Accurate Roof Measurement Matters
Understanding the importance of precise roof measurement can save you time and money. When measurements are accurate, you can purchase the correct amount of materials, avoid overbuying or underbuying, and ensure the shingles fit perfectly. Accurate measurements also help in planning and budgeting, preventing unexpected expenses during the project.
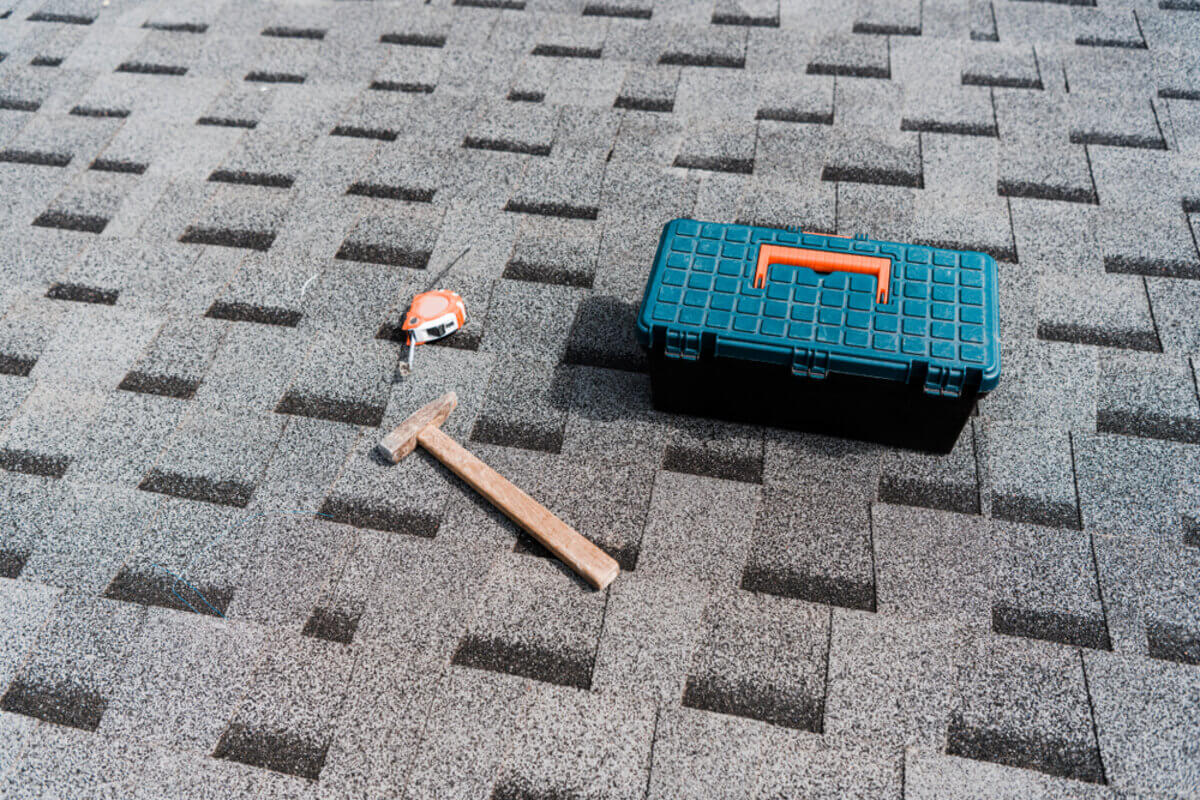
Tools You Will Need
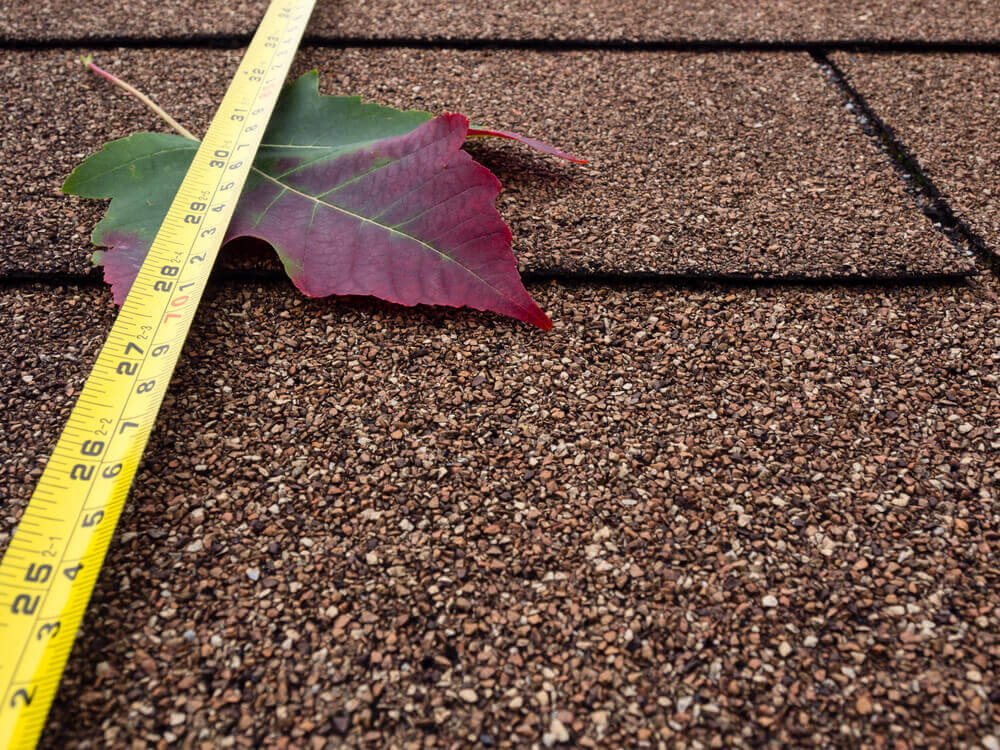
- Measuring Tape
- Ladder
- Notepad and Pencil
- Calculator
- Safety Gear
Step-by-Step Guide to Measuring Your Roof
Step 1: Assess Roof Safety
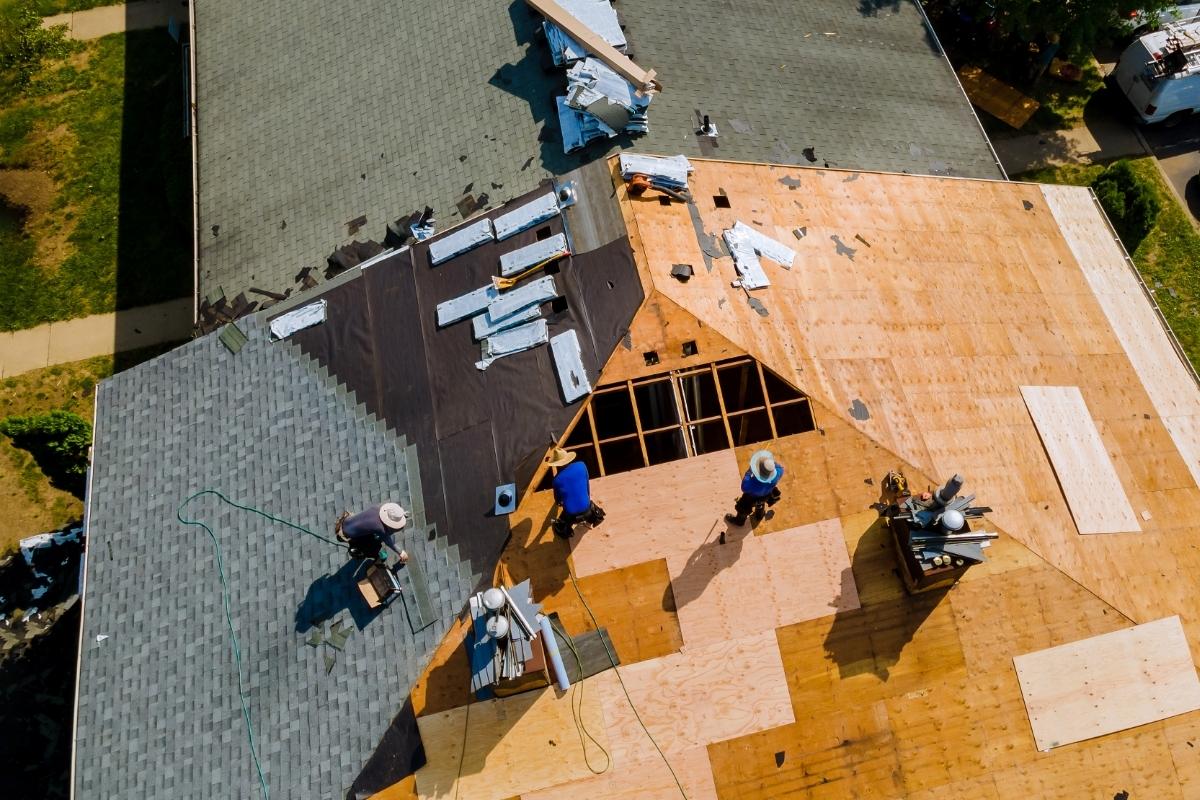
Before you climb onto your roof, ensure it’s safe. Check the weather forecast; avoid measuring in wet or windy conditions. Your ladder and roof will need thorough inspection to check for any signs of damage or instability.
Step 2: Measure the Roof’s Length and Width
Start by measuring the length and width of each section of your roof. For rectangular sections, measure the length from one end to the other and the width from the top to the bottom. Record these measurements carefully.
Step 3: Calculate the Area of Each Section
To calculate the area of each rectangular section, multiply the length by the width. For example, if a section of your roof is 20 feet long and 15 feet wide, the area would be: Area = 20 ft × 15 ft = 300 sq ft Area=20 ft×15 ft=300 sq ft
Step 4: Measure the Roof Pitch
The pitch of your roof affects the amount of shingles you will need. To measure the pitch, use a level and a measuring tape. Place the level on the roof and measure 12 inches along its length. Then, measure the vertical distance from the roof surface to the bottom of the level. This distance is on the rise. The pitch is then calculated as the ratio of the rise to the run (12 inches).
Step 5: Adjust for Roof Pitch
Once you have the pitch, adjust your area calculations accordingly. For example, if your roof pitch is 4/12, multiply the area by 1.054 to get the adjusted area. This accounts for the slope of the roof.
Step 6: Add Up All Sections
After measuring and adjusting for pitch, add the areas of all roof sections together to get the total roof area. This will give you the total square footage you need to cover with shingles.
Considering Roof Features
Roofs often have features like dormers, chimneys, and skylights that complicate measurements. Measure around these features carefully, subtracting their areas from your total. Ensure you account for any additional flashing or materials needed for these areas.
Ordering Shingles
Shingles are typically sold in bundles, with each bundle covering about 33 square feet. To determine how many bundles you need, divide your total roof area by 33. It’s wise to add an extra 10% to account for waste and cutting around edges and corners.
Final Tips for Measuring a Roof for Shingles
- Double-check your measurements: Mistakes can be costly, so verify each measurement.
- Consult with a Professional: If you’re unsure, getting a second opinion can save time and resources.
- Consider Roof Complexity: For more complex roofs with multiple angles and sections, consider professional help.
Conclusion
Accurately measuring your roof for shingles is a critical step in ensuring a successful roofing project. By following this guide, you can confidently take the necessary measurements, order the correct amount of materials, and achieve a well-installed, long-lasting roof. Remember, preparation and precision are key to roofing success. If you need professional assistance, contact DryTech Exteriors today.